How to Create a Professional-Looking Memorial Video Without Expensive Software
A memorial video does not have to be expensive to be meaningful. With a clear plan, thoughtful pacing, and a few simple editing habits, a free or low-cost tool can still help you create a tribute that feels polished, emotional, and personal.
A professional memorial video is not defined by complicated effects. It is defined by intention.
A slideshow shows photos one after another. A memorial video creates an experience. It has a beginning, middle, and ending. It moves with the music, gives important memories time to breathe, and uses motion, titles, audio, and structure to help the audience feel the life behind the images.
The software matters, but it is not the most important part. What matters most is the care you put into the story, the pacing, the music, and the way each photo or video clip is presented.
Start With the Project, Not the Software
Before opening any editing program, make a simple project plan. This step saves more time than almost anything else because it gives the family one shared direction.
- Choose one lead person: Someone needs to collect photos, organize feedback, set deadlines, and know which version is final.
- Set a media deadline: If the service is coming soon, the deadline may need to be within 24 to 48 hours.
- Contact the venue early: Ask whether they need an MP4, USB drive, DVD, laptop connection, specific screen ratio, or file sent ahead of time.
- List the must-include people: Note the relationships, places, and life chapters that need to be represented.
- Keep revision time protected: Sorting, editing, previewing, exporting, and testing all need room before the service.
- Avoid version chaos: Too many late changes and duplicate files can make a thoughtful project feel frantic.
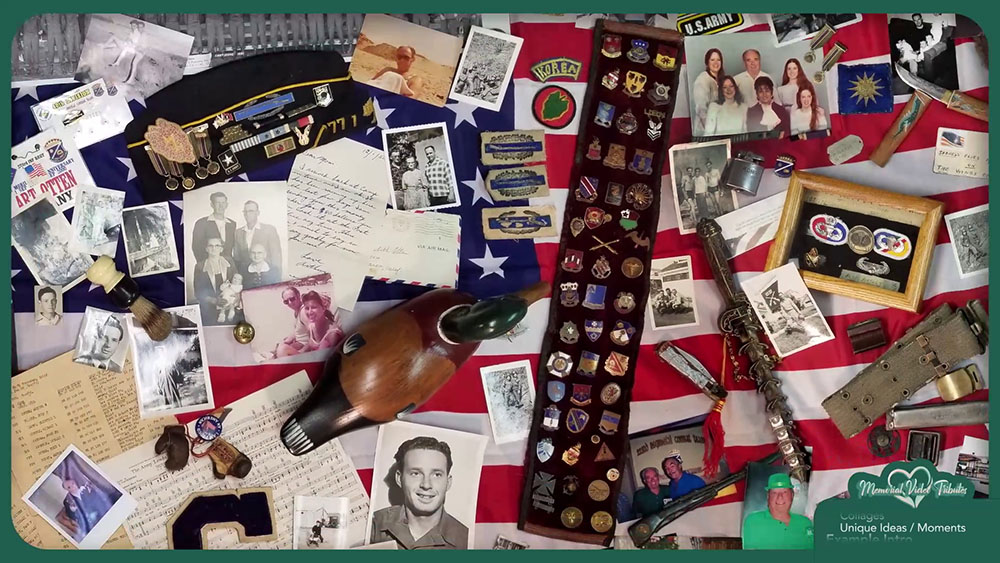
Gather Better Media, Not Just More Media
The hardest part of making a memorial video is often not editing. It is gathering the media.
Photos may be spread across phones, computers, social media, text messages, old albums, cloud accounts, hard drives, and relatives' devices. Start by creating one central place where everything can be collected, such as iCloud, OneDrive, Dropbox, Google Drive, or another file-sharing service.
Create an upload link and send it to family and friends with simple instructions. Ask people to upload favorite photos and videos by a specific deadline. When possible, ask for original files instead of screenshots or social media downloads, because originals usually look better on a large screen.
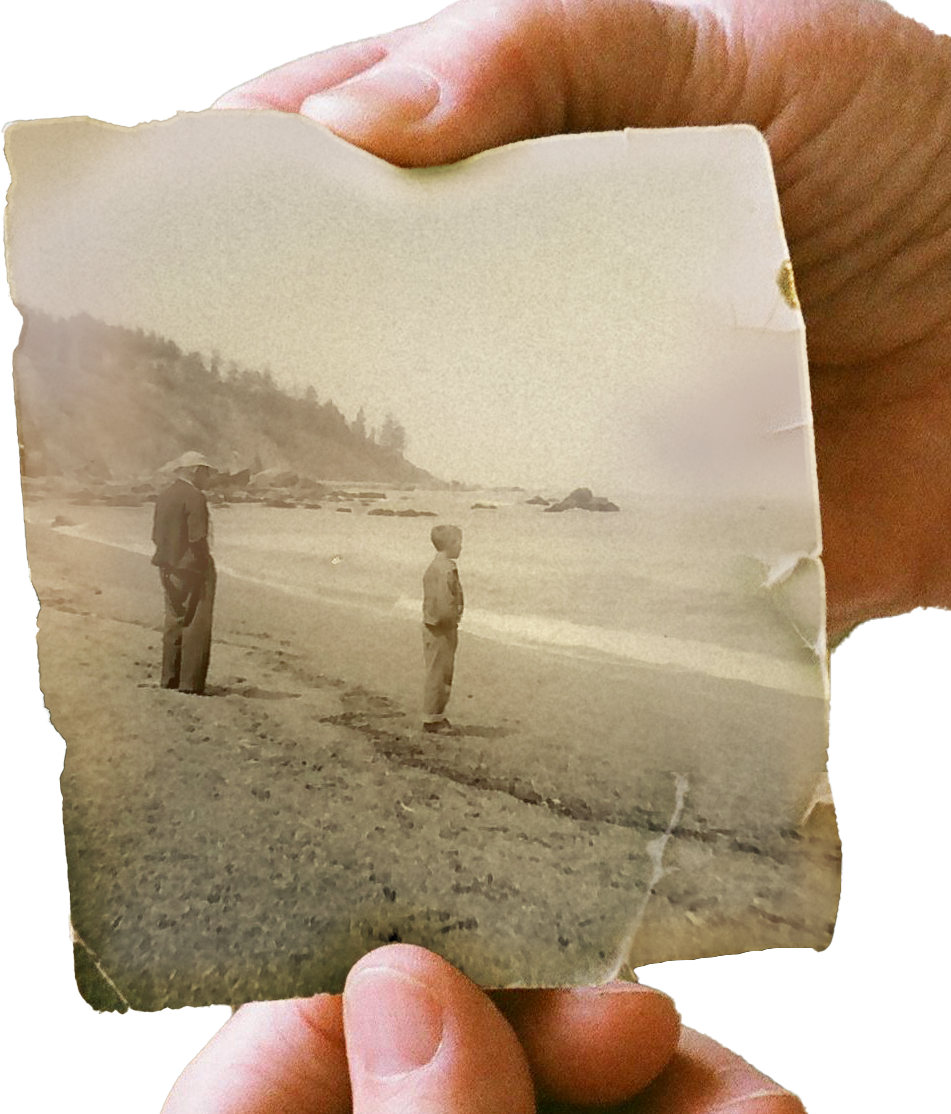
Look for originals first
Social media photos can be emotionally important, but they are often compressed. Use them when needed, but search for the original phone, camera, or computer file first.
Do not forget motion and sound
A few seconds of someone laughing, waving, dancing, speaking, or looking into the camera can become the most powerful part of the tribute.
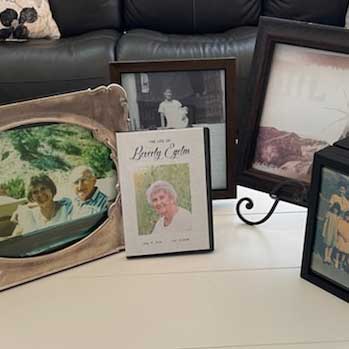
Organize Before You Edit
Once everything is collected, resist the urge to start editing immediately. First, create a main project folder. Inside it, create folders by life chapter or theme: childhood, parents, siblings, marriage, children, grandchildren, friends, career, hobbies, travel, holidays, military, pets, recent years, video clips, music, and unused extras.
The unused folder matters. Do not delete photos just because they do not fit right away. Move duplicates, weaker images, or extra variations there so they are out of the way but still available.
As you sort the photos, you will start to see the story. You may discover that one life chapter is full of images while another is missing. You may realize that a favorite hobby, friend group, or season of life deserves its own section.
Organization is not just technical housekeeping. It is how the shape of the person's life starts to become visible.
Give the Video a Story Arc
For a basic memorial video, a good structure might move through childhood and family roots, young adulthood, marriage or major relationships, children and grandchildren, career or service, hobbies and passions, friends and celebrations, later years, and a final tribute or closing message.
That structure can be changed to fit the person. A memorial video for a musician, teacher, veteran, artist, pilot, gardener, business owner, or devoted grandparent should reflect what made that person unique.
A simple chapter flow
- Family roots and childhood
- Young adulthood and major relationships
- Children, grandchildren, and close friends
- Work, service, hobbies, and celebrations
- Later years and final tribute
Make room for personality
The best structure is not always chronological. Sometimes the clearest story comes from what the person loved: music, gardening, teaching, travel, faith, humor, community, or family traditions.
Choose the Music Before Building the Timeline
Music is the foundation of the video. Choose songs that mean something: a loved one's favorite songs, music connected to a spouse or family memory, spiritual songs, classical pieces, instrumental tracks, or songs that match the tone of a particular section.
Avoid choosing music only because the lyrics mention loss or remembrance. Sometimes a joyful song is more accurate. A memorial video should honor a full life, not only the sadness of saying goodbye.
Once you choose the music, listen carefully. Notice where it builds, softens, pauses, or changes. Important photos should land where the music gives them emotional support. Faster sections can carry groups of family and celebration photos. Slower sections can hold portraits, intimate moments, and closing images.
Do not simply drop in a song and fade it out when you run out of pictures. Try to end at a natural musical phrase, repeat an instrumental section if you need more time, or shorten a verse if the section is dragging.
Four Editing Habits That Make Free Tools Feel Professional
You do not need expensive software to create a good memorial video. Free tools can produce strong results when you use them with restraint, consistency, and a clear emotional purpose.
Move Gently
Use slow zooms, gentle pans, soft fades, subtle depth, and clean titles. Avoid spinning, flipping, bouncing, or over-animating photos.
Prepare Images
Straighten scans, adjust brightness and contrast, clean dust when possible, and preserve the natural character of older photos.
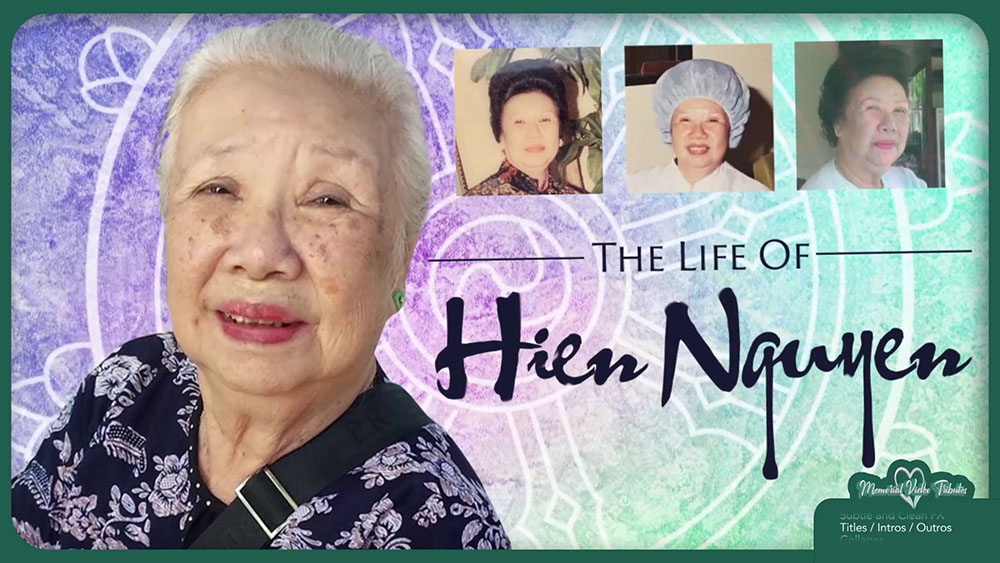
Use Clean Titles
A strong portrait, tasteful typography, a favorite quote, and the right music cue can be more powerful than a complicated opening.
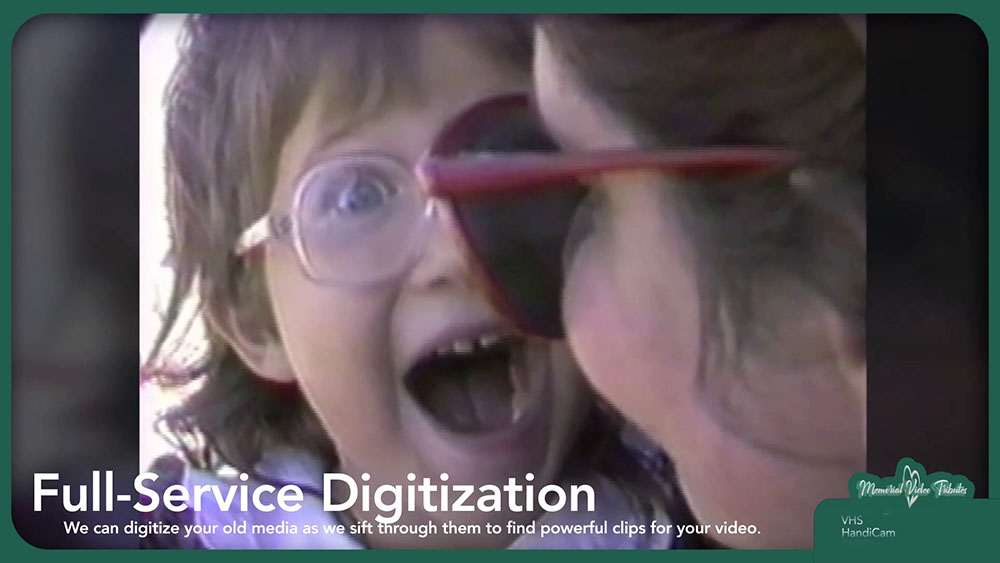
Include Old Media
VHS tapes, HandiCam footage, 8mm film, DVDs, cassettes, negatives, and printed photos may hold moments no one has seen in years.
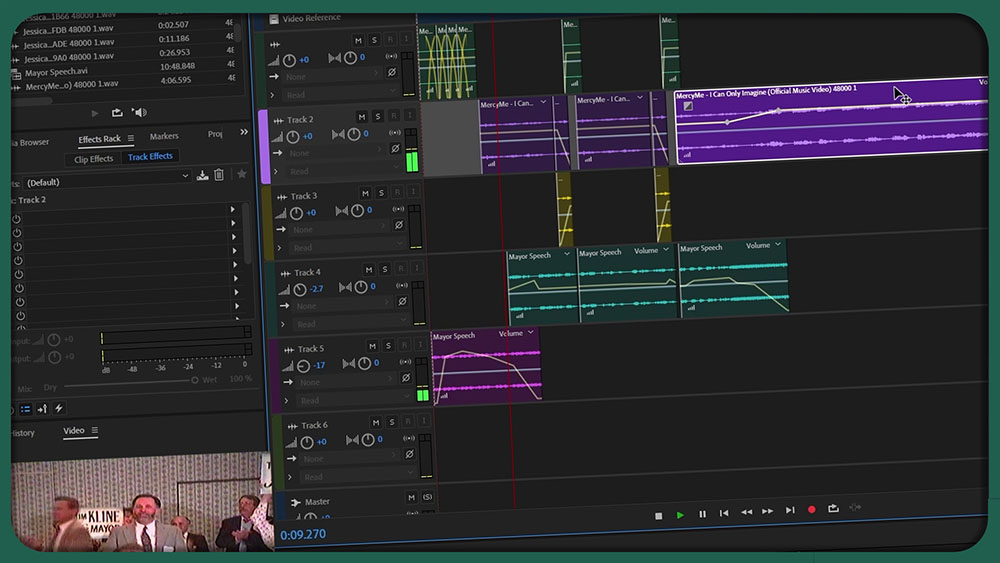
Use Free Software With Professional Habits
Blender is one option for creating animated photo sequences and video projects without paying for editing software. It has a learning curve, but for memorial video work, you only need a small part of what it can do: importing photos, placing them on a timeline, creating basic camera movement, using keyframes, adding text, and exporting a video file.
Other free or low-cost tools can also work, depending on your comfort level. The specific software is less important than the method.
The goal is not to prove that you know how to use software. The goal is to make the audience feel connected to the person being honored.
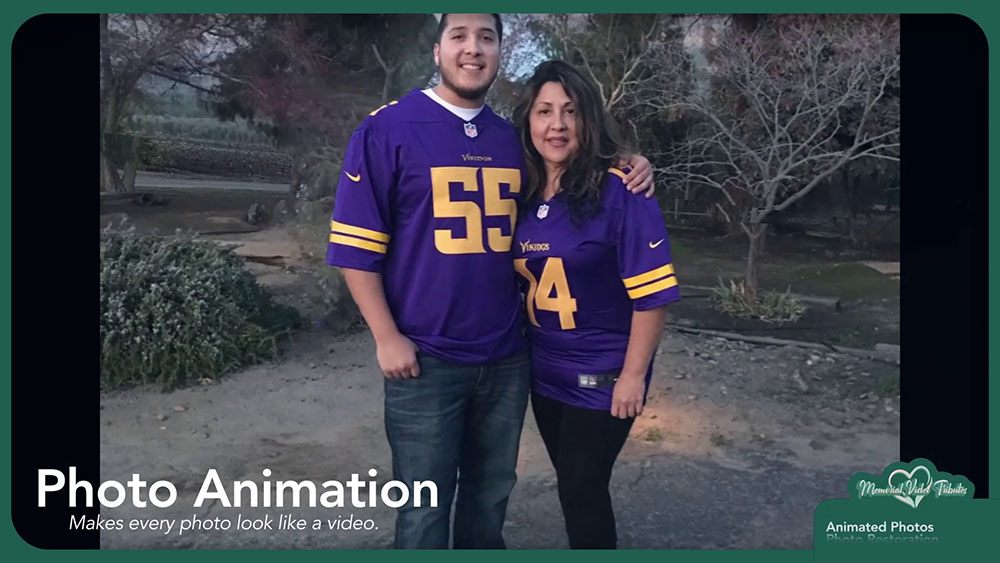
Animate Photos With Restraint
Still photos become more engaging when they have subtle motion. This is often called the Ken Burns effect: a slow zoom or pan across a photograph. Use movement to guide the viewer's eye. If the photo shows a person standing in a group, slowly push toward their face. If the image includes a parent holding a child, move slowly enough to let the relationship register.
Motion should feel intentional
Do not apply the exact same movement to every image. Vary the motion based on the photo. Some images can slowly zoom in, some can drift sideways, and some should stay nearly still.
Meaningful photos need time
Fast animation can make viewers feel rushed or distracted. A restored portrait, wedding photo, military photo, or favorite family image may deserve a longer moment with slower motion.
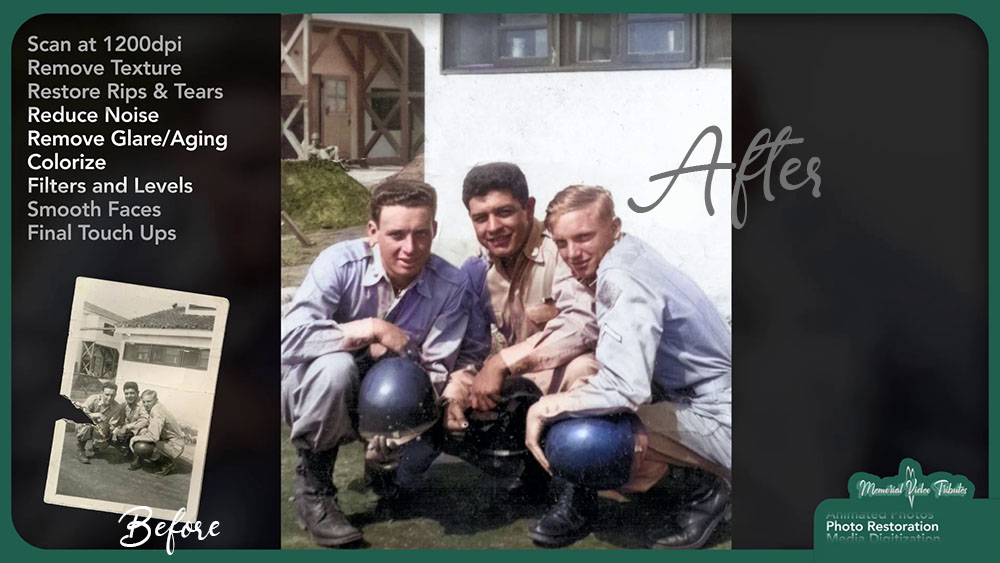
Prepare Old and Low-Quality Photos
Many memorial videos include old photos, damaged prints, screenshots, faded images, or low-resolution files. Crop carefully, remove distracting borders when appropriate, straighten crooked scans, adjust brightness and contrast, and clean up dust or scratches if you have the tools.
Do not over-process faces. Heavy sharpening, smoothing, or artificial enhancement can make old photos look strange. The goal is to improve the image while preserving its character.
If you have printed photos, scanning is usually better than photographing them with a phone. A high-resolution scan gives you more room to zoom, pan, crop, and restore the image. If you only have a phone, place the photo on a flat surface near soft light, avoid glare, hold the phone parallel to the image, and capture it at the highest quality possible.
Build in Sections, Then Create the Intro and Outro
Do not start with the intro. Intros are hard to create before you understand the full emotional shape of the video. Start with a main section instead, such as childhood, family, marriage, or another straightforward chapter.
- Build one section first: Add music, place the strongest photos, fill in supporting images, and establish the pacing.
- Preview before expanding: Remove anything that feels repetitive, weak, too fast, or emotionally out of place.
- Let the video rise and fall: A tribute should have joyful moments, quiet moments, family moments, and reflective moments.
- Create the intro after the body: By then, you will know the tone of the tribute much better.
- Choose the outro carefully: A peaceful portrait, voice recording, favorite saying, family photo, or final message can give the video closure.
- Do not end abruptly: Let the final image breathe, let the music resolve, and give the audience a few seconds to absorb the ending.
Export and Test the Final Video
Once the video is complete, export it as a high-quality MP4 file. This is the most widely usable format for modern playback. If the venue requests something specific, follow their instructions.
Test the video before the service. Watch it all the way through. Check the spelling of names. Make sure the dates are correct. Listen for audio that is too loud or too quiet. Look for black gaps, repeated photos, incorrect cropping, or images that appear for too short a time.
Then test it on the actual playback device if possible. A video that works on your computer may not automatically work on a venue's system. Bring backups: a USB drive, a laptop copy, a private online version if appropriate, and a tested DVD if the venue requires one.
Free Does Not Mean Careless
A professional-looking memorial video does not require expensive software, but it does require attention. Gather the best media. Organize it clearly. Choose music with care. Build the video in sections. Use subtle motion. Restore what you can. Create a real beginning and ending. Test the final file.
The difference between a slideshow and a tribute is not just technology. It is thoughtfulness. A slideshow displays memories. A tribute shapes them into a story.
When you take the time to build the video with intention, the result can become much more than something shown at a service. It can become a keepsake for children, grandchildren, friends, and future generations.
Get help with a tribute video